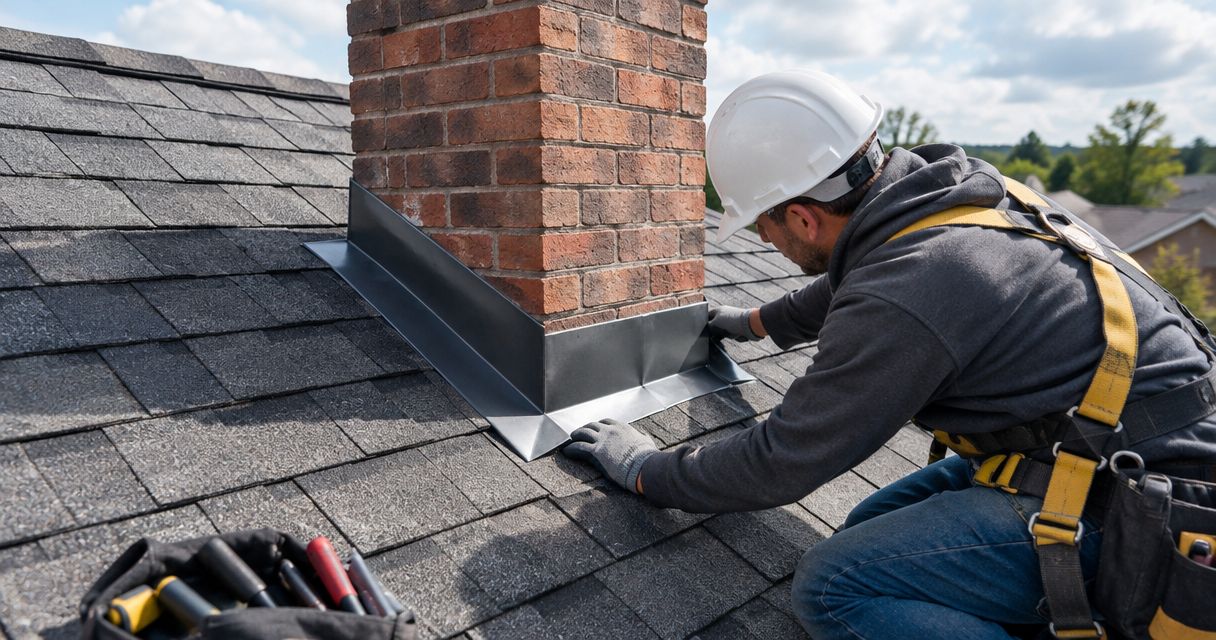
Instead of repeatedly patching a chimney leak without a roof-wide plan, coordinate chimney flashing roof replacement through an inspection, a written scope, tear-off checks, and a documented walkthrough. For your 2026 homeowner-paid reroof, the goal is to resolve the chimney-to-roof connection before new shingles hide the work.
- Chimney flashing roof replacement needs a written plan for step flashing, counterflashing, decking, and masonry coordination.
- Prescott Roofing is a roof replacement option for Southern New Hampshire homeowners; compare the written chimney scope before hiring.
- Replace defective flashing during reroofing rather than covering unresolved connections with new shingles.
- Request an inspection before choosing between limited chimney work and a full residential roof replacement.
Why this matters
A chimney interrupts the roof surface. Water must travel around that interruption without reaching the wood beneath the shingles. The visible metal is only part of that connection; concealed laps and the way flashing meets the masonry matter just as much.
A full roof replacement does not automatically mean complete chimney reflashing. Your estimate needs to say what happens at the chimney, including what stays, what comes out, and who handles masonry defects. Review the roof flashing materials guide alongside the installation scope—not instead of it.
Prescott Roofing is best suited to Southern New Hampshire homeowners seeking residential roof replacement rather than a materials-only purchase. Use the workflow below to evaluate the chimney portion of that project without mistaking a neat exterior for a complete water-shedding assembly.
Before you start
- Gather access and records. Have your existing estimate, available roof records, and interior leak photos ready. Arrange safe attic access where available; leave roof climbing and ladder work to qualified professionals.
- Define the project. Tell each contractor you are considering a homeowner-paid residential roof replacement. Ask for separate descriptions of roof work, chimney flashing work, and any masonry work excluded from the roofing contract.
- Resolve the hidden gotcha. Counterflashing connects the roof flashing to the chimney. If masonry repairs are needed, agree on responsibility and sequencing before tear-off so the roofing crew does not reach an unresolved handoff.
For a 2026 estimate comparison, use the same written questions with every contractor. Different totals do not tell you much when the chimney work differs underneath them.
Inspection and replacement decision
Establish where the water enters
- Record the symptoms. Note where you see staining, whether it follows rainfall, and whether the mark is changing. Photograph the ceiling and attic area without disturbing wet materials or entering unsafe spaces.
- Request a roof-and-chimney inspection. Ask the contractor to assess shingles, flashing, adjacent decking where accessible, and visible masonry. A ceiling stain identifies a symptom, not necessarily the entry point.
- Ask for documented findings. Request photos of all 4 chimney sides where safely accessible, with an explanation of any side that cannot be inspected. Ask which conclusions remain uncertain until tear-off.
- Separate the decisions. Determine whether the chimney connection needs work, then determine whether the surrounding roof warrants replacement. A flashing defect alone does not establish that the entire roof needs replacing.
Expected result: You understand the observed defects, the limits of the inspection, and the reason for recommending either limited work or a full reroof.
Compare the scope—not just the project label
These are different approaches, not interchangeable descriptions of the same job. Use this table when an estimate says only “chimney flashing included.”
| Approach | Best for | Advantage | Limitation |
|---|---|---|---|
| Localized flashing work | A documented chimney defect with a surrounding roof that remains serviceable | Addresses the affected connection without replacing the whole roof | Does not address broader roof deterioration |
| Reroof with documented flashing reuse | Existing components verified as suitable for the new assembly | Retains serviceable material | Concealed defects or damage during removal can change the scope |
| Reroof with new flashing | Defective, damaged, or incompatible chimney flashing | Allows the connection to be rebuilt with the new roof | Requires clear masonry coordination and defined exclusions |
Choose full replacement because the roof needs replacement, not because a chimney stain makes the larger project sound inevitable. If a contractor recommends retaining flashing, ask how its condition, fastening, and integration will be verified.
Written scope and trade coordination
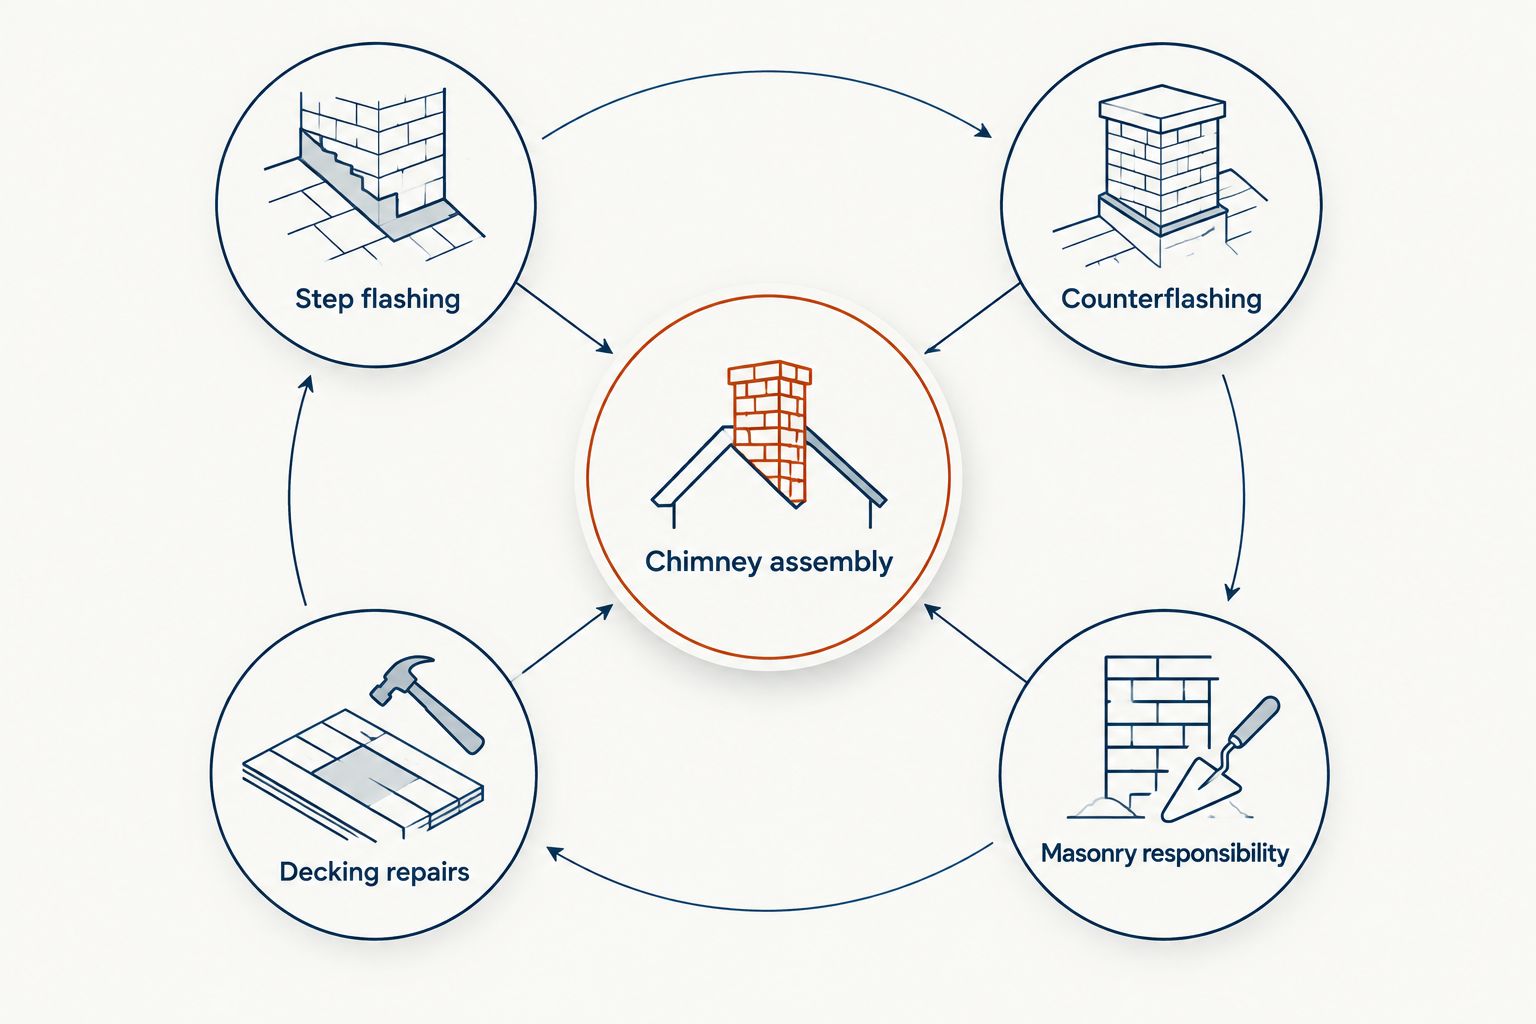
Define the chimney assembly
- Identify step flashing. On a typical asphalt-shingle roof, step flashing consists of separate metal pieces interwoven with successive shingle courses along the chimney sides. Ask whether those pieces will be replaced or reused.
- Identify counterflashing. Counterflashing covers the upper edges of the roof flashing and connects the assembly to the chimney. Ask how it terminates at the masonry and whether that connection needs repair.
- Describe the uphill and downhill details. The downhill apron sheds water onto the roof below. The uphill side must direct water around the chimney; ask whether a cricket—a small peaked diverter—is required for the particular roof geometry and applicable rules.
- Name the supporting work. Specify adjacent underlayment, decking repairs, removal of old material, and debris handling. Underlayment supports the water-management system; it does not replace properly installed flashing.
- Assign masonry responsibility. State who evaluates and repairs defective mortar, chimney surfaces, or the counterflashing attachment area. Record whether that work is included, excluded, or separately contracted.
Expected result: Your estimate describes a complete connection rather than treating every metal component as one vague allowance.
For your 2026 contract, distinguish a visible inspection finding from a concealed-condition allowance. The contractor cannot fully assess wood hidden beneath roofing until that material is removed.
Set the approval process
- Define concealed-condition documentation. Require photographs and an explanation before additional decking or related work is approved, except for any protective action already authorized in your contract.
- Establish written authorization. Ask how a change order will describe the additional work and how you approve it. Do not rely on a casual conversation to settle a disputed scope.
- Clarify protection and sequencing. Ask how the exposed roof will be protected while roofing and masonry tasks are coordinated. Confirm who communicates changes to you.
Expected result: You know what happens when tear-off reveals conditions that were not visible during the estimate.
Keep 3 project records together: the signed scope, approved changes, and completion photographs. The deck repair discovery workflow explains the handoff between exposed wood, approval, and roofing installation.
Tear-off, installation, and verification
Check the exposed chimney area
- Confirm removal matches the agreement. The crew should expose the areas needed to perform the contracted flashing work. New shingles should not conceal unresolved conditions that prevent that work from being completed properly.
- Review the deck findings. Ask for photographs of deterioration or unsuitable fastening surfaces. Wood that cannot properly support the roofing assembly needs an agreed repair before it is covered.
- Reassess retained components. Flashing selected for reuse must remain suitable after surrounding roofing is removed. If removal exposes damage, document the revised recommendation rather than silently changing the plan.
- Confirm masonry readiness. Resolve work affecting the flashing attachment or overlap before the roof connection is closed. The correct sequence depends on the repair, so roofing and masonry responsibilities need a shared plan.
Expected result: The contractor has a suitable surface and an agreed chimney detail before installing the new roof around it.
For a 2026 reroof, ask for progress photos while these areas remain visible. A finished-roof photograph cannot show every concealed overlap or the condition of the deck beneath it.
Verify the finished connection
- Request installation documentation. Ask for photos showing the key stages around the chimney, not just a distant image of finished shingles.
- Check against the written scope. Confirm which flashing was replaced, which was retained, and whether any masonry exclusions remain unresolved. Ask the contractor to explain changes from the original plan.
- Review water-shedding details. Have the contractor explain how the side, uphill, and downhill connections direct water onto the roof surface. Sealant has uses at specified joints, but a broad surface smear is not an explanation of the underlying assembly.
- Complete a ground-level walkthrough. Discuss cleanup, visible finish, outstanding work, and the process for reporting a concern. Do not climb onto the roof to inspect it yourself.
Expected result: You receive an explanation of the installed work and a record that connects the finished roof to the agreed scope.
When the chimney scope changes after tear-off
A second workflow applies when the initial plan calls for flashing reuse but tear-off reveals damage. This is a change-control problem, not a reason to accept an undocumented substitution.
- Document the finding. Request photos identifying the damaged component and its location.
- Separate required work from optional work. Ask why the existing detail cannot serve the new roof and what replacement addresses that defect.
- Approve the revised scope. Record removal, replacement, masonry coordination, and any schedule change in writing.
- Verify the revised installation. Add progress photographs and the approved change to your project records.
The same inspection standard applies whether you replace all chimney flashing initially or change the plan after exposure. Neither reuse nor replacement deserves automatic approval without an explanation tied to the actual condition.
Prescott Roofing offers residential roof replacement for homeowners in Southern New Hampshire. Request an inspection to discuss the roof and chimney together; submitting a request does not mean an appointment is booked.
Request a roof replacement inspection
Ask for a roof assessment and a clear explanation of the chimney flashing scope.
Troubleshooting unclear estimates and unfinished details
- The estimate says only “flash chimney.” Ask for a revision naming step flashing, counterflashing, uphill and downhill details, and any reused components. A short label does not establish the work included.
- The roofer and mason each assign responsibility to the other. Get a written division of work before installation reaches that connection. Identify who prepares the masonry and who completes the flashing termination.
- Concealed decking damage appears during tear-off. Use the agreed documentation and change-order process. Review the affected area and required work before authorizing the change.
- A stain remains after the replacement. An old stain alone does not establish an active leak. Photograph changes, report new dampness promptly, and have the contractor investigate before interior finishes conceal the evidence.
- Finished photos show sealant but no installation detail. Ask for progress photos and an explanation of the concealed flashing arrangement. Surface appearance alone does not verify the assembly.
Customize your roof replacement workflow
For your 2026 project, add chimney questions to the same checklist you use for ventilation, roof penetrations, and decking. These connections belong in the estimate before you choose a contractor, not in a rushed conversation after tear-off.
When requesting a Prescott Roofing roof replacement inspection, describe the chimney location, interior symptoms, and your replacement plans. Ask what can be assessed during the visit and what requires exposure. Choose a contractor who explains both the proposed work and the limits of the inspection.
FAQ
Does chimney flashing need replacement when I replace my roof?
Chimney flashing needs replacement when its condition or configuration cannot support the new roofing assembly. Suitable components can sometimes remain, but your contractor should explain and document that decision.
Does a chimney leak mean I need a full roof replacement?
No, a chimney leak alone does not establish that your whole roof needs replacement. The inspection should assess the chimney connection and the condition of the surrounding roof separately.
What's the difference between step flashing and counterflashing?
Step flashing is interwoven with shingle courses along the chimney sides; counterflashing covers its upper edges at the chimney. Both connections need to work together to shed water.
Can my roofer reuse existing chimney flashing?
Existing flashing can be reused only when its condition and installation suit the new roof assembly. Ask how the contractor will inspect it after tear-off and handle any damage discovered.
Should masonry repairs happen before roof replacement?
Masonry work affecting the flashing connection needs a coordinated sequence with the roofing work. Set responsibility and timing before tear-off rather than assuming one trade will handle everything.
What should a chimney flashing roof replacement estimate include?
A chimney flashing roof replacement estimate should define flashing replacement or reuse, adjacent roofing work, decking provisions, and masonry exclusions. It should also explain how concealed conditions and changes receive approval.
How do I request a Prescott Roofing inspection?
Use the contact page to request a roof replacement inspection and describe your chimney concerns. A submitted request is not a confirmed appointment; confirm scheduling directly.
One last thing
Ask for photographs before the final shingles cover the chimney connection. The most useful completion record is often the work you can no longer see—not the finished roof surface.