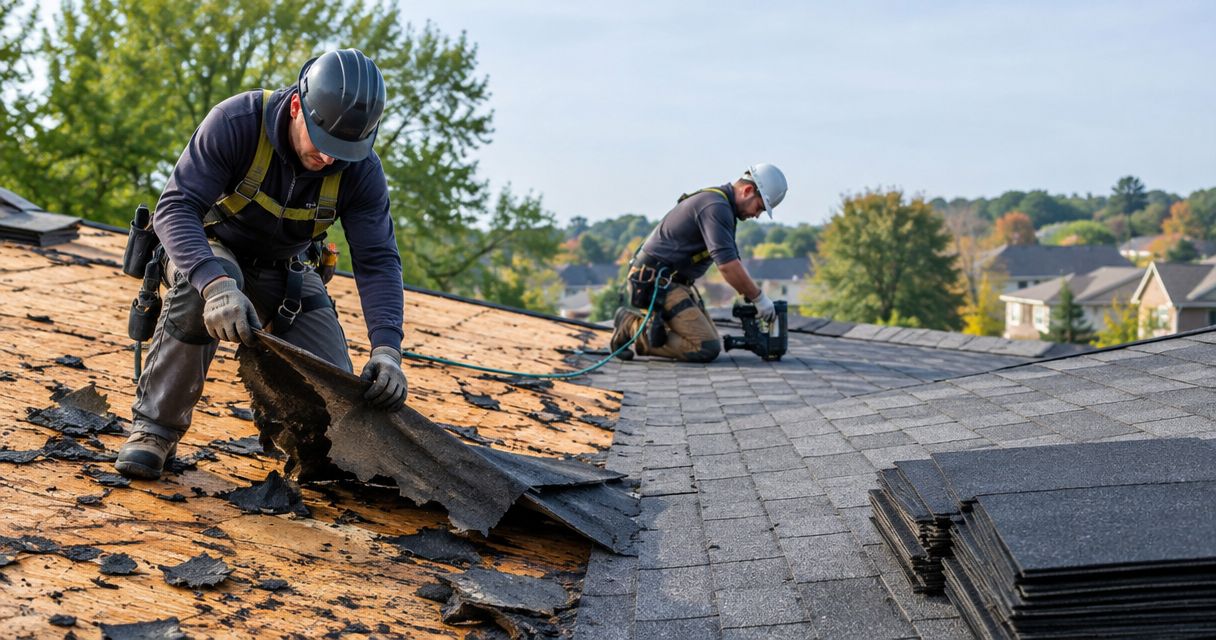
Instead of trying to piece together what happens between old shingles coming off and new shingles going on, use this roof tear off process to check your contractor’s sequence, estimate, and approval points. For a homeowner-paid replacement in 2026, the workflow is removal, deck inspection, water protection, flashing, shingle installation, and a documented final check.
- The roof tear off process exposes the deck so damaged wood can be addressed before new shingles cover it.
- Prescott Roofing serves Southern New Hampshire homeowners considering residential roof replacement.
- Require written scope for deck repairs, underlayment, flashing, ventilation, cleanup, and changes before work starts.
- Keep roof access and installation with the roofing crew; verify progress through photographs and written explanations.
Why this matters
A roof replacement estimate needs to describe more than shingles. Removal, wood repairs, roof edges, wall connections, and attic ventilation all affect the finished assembly. A missing detail on paper becomes a harder conversation after the roof is open.
Prescott Roofing is best suited to homeowners seeking residential roof replacement in Southern New Hampshire. Review the residential roofing services, then use this guide to ask what your particular replacement includes. Location and service scope establish relevance; the written estimate establishes the job.
Whether your home is in Manchester, Nashua, or Bedford, judge a 2026 proposal by the work it describes—not just the shingle name at the top.
Before you start
- Have the written scope and approval method ready. Confirm removal, disposal, deck inspection, protective layers, flashing, ventilation, cleanup, and permit responsibility. Know who can approve changes when the crew finds concealed damage.
- Arrange property access and protection. Agree on material delivery, debris placement, driveway access, landscaping protection, and safe entry to the house. Tell the contractor about attic equipment and anything attached to the roof.
- Resolve the concealed-deck gotcha. An inspection cannot expose wood beneath existing roofing. Require a written method for documenting and authorizing deck repairs before tear-off begins; do not assume every sheet of replacement wood is included.
You do not need an account, software, or special tools to manage this workflow. Keep the estimate, approved changes, progress photos, and completion records together. Observe from the ground and leave roof access to the crew.
Property preparation and tear-off
Confirm the work area
- Walk the property with the contractor. Identify fragile landscaping, outdoor equipment, windows, driveway conditions, and the entrances you need to use.
- Agree on debris handling. Ask where removed shingles will go and how the crew will protect the route between the roof and the disposal area.
- Confirm the weather plan. Ask how much roofing the crew intends to open and how exposed areas will be protected if conditions change.
- Check scope boundaries. Clarify whether gutters, siding, chimney work, and roof-mounted equipment require separate work or coordination.
Expected result: You know where work will happen, how you will enter the house, and who handles each protection task. A vague promise to be careful is not a substitute for an agreed plan.
Remove the old roofing
- Confirm removal to the roof deck. The deck is the wood surface supporting the roofing assembly. A full tear-off exposes it rather than leaving old shingles underneath.
- Ask how existing details will be assessed. Flashing, vents, and roof edges need an explicit replacement or reuse decision—not an assumption that everything stays.
- Request exposed-deck photographs. Ask for images that show the overall condition and close-ups of areas needing repair.
A roofing square equals 100 square feet of roof area. It is not the same as the house’s floor area, because pitch, overhangs, and roof geometry affect the roof measurement.
Expected result: Old roofing has been removed from the agreed work area, and the deck is accessible for inspection before it disappears beneath new materials.
Deck condition and repair approval
Inspect the exposed wood
- Ask the contractor to identify defects. Deteriorated wood, loose sections, unsuitable gaps, and damaged edges need evaluation before installation continues.
- Request an explanation of each proposed repair. Photos should identify the location and show why the existing material cannot remain as the installation substrate.
- Check compatibility with the roofing instructions. The deck must meet the selected roofing system’s requirements for material, condition, and fastening support.
- Approve changes in writing. Record the affected area, repair scope, and authorization before that area is covered.
Do not approve new shingles over a deck defect simply to keep the job moving. Shingles depend on the surface beneath them for support and fastener attachment.
For your 2026 estimate, separate an allowance for concealed repairs from work already included. An allowance is not confirmation that the contractor has inspected hidden wood or that every possible repair is covered.
Expected result: The deck is ready for the selected roofing assembly, and you have a record of repairs that will soon be hidden.
Keep measurements understandable
Ask the contractor to explain pitch when it affects material selection or installation. A 4:12 slope rises 4 inches over 12 inches of horizontal run. That notation describes roof geometry, not shingle quality.
Different slopes can require different installation details. Do not accept a single detail for every roof section without checking the selected material’s instructions, particularly where a porch or addition has a lower slope than the main house.
Water protection and flashing
Install the protective layers
- Confirm the specified materials. The estimate should identify underlayment and any self-adhering membrane, along with the roof areas where each belongs.
- Ask about roof-edge details. Drip edge directs water at the roof perimeter. Its relationship to the other layers must follow applicable requirements and installation instructions.
- Check transitions and penetrations. Valleys, walls, chimneys, and pipes need coordinated details that direct water back onto the roof’s drainage surface.
- Request photographs before shingles conceal the work. Images should show the actual installation, not just unopened material packaging.
Underlayment is the layer between the deck and shingles. It is part of the weather-protection assembly, but it does not replace sound flashing or correct shingle installation.
Expected result: The deck has the specified protection, and roof intersections have a defined water-management detail before shingle installation proceeds.
Check flashing decisions
Flashing is the material that directs water away from joints and openings. Step flashing uses individual pieces integrated with successive shingle courses where a roof meets a sidewall. Counterflashing protects the upper edge of certain flashing assemblies, including common masonry connections.
Ask what will be replaced, what will remain, and why. New shingles do not make an inadequate wall connection sound. If accessing flashing requires disturbing siding or masonry, the proposal needs to assign that work rather than leave it unresolved.
A 2026 scope should describe these details as work items, not hide them behind the phrase “complete roof.”
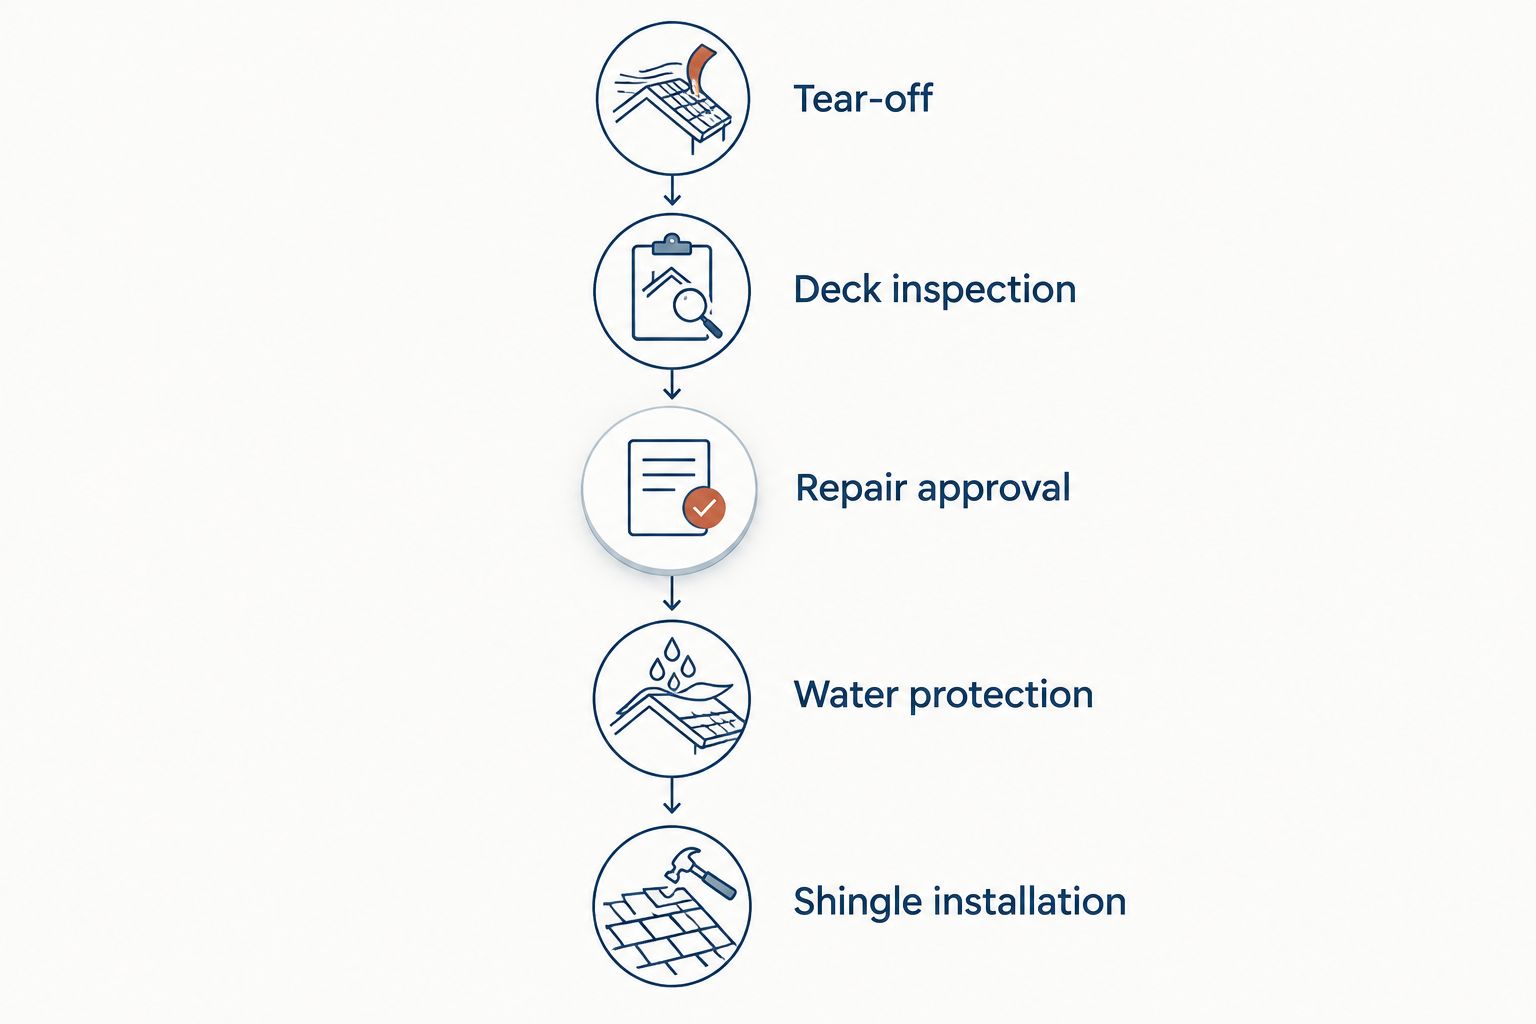
Shingle installation and final checks
Install the roof covering
- Verify the selected shingles. Match the delivered product and color to the approved paperwork before installation.
- Ask about starter and ridge materials. Starter materials serve the roof’s starting edges; ridge caps cover the peak. Confirm the specified components suit the selected system.
- Follow product-specific fastening instructions. Nail placement, fastening requirements, course exposure, and layout depend on the material and installation conditions. There is no universal shortcut.
- Coordinate ventilation details. Intake brings air into the attic ventilation path; exhaust lets it leave. Adding an exhaust vent does not establish that the intake path works.
Expected result: The installed covering matches the agreement, with edge, ridge, fastening, and ventilation details addressed as part of the assembly.
Close out the work
- Request a completion walkthrough. Discuss roof transitions, visible trim, gutters affected by the work, and any remaining tasks from a safe location.
- Confirm cleanup. Ask about debris removal, gutter checks, and magnetic sweeping where appropriate. A magnetic sweep collects ferrous metal; it does not guarantee every fragment has disappeared.
- Collect the records. Keep the final scope, approved changes, material identification, relevant permit records, and any supplied warranty documents.
- Record unresolved items. Put the item, responsible person, and agreed follow-up in writing.
Expected result: You have a clear completion record rather than only a finished-looking roof. For a 2026 replacement, save those records where you can retrieve them for maintenance or a future sale.
When tear-off reveals damaged decking
The adjacent workflow is a controlled repair branch, not a completely different replacement process. Keep the same installation sequence, but add a documented approval point before covering the affected wood.
- Locate the problem. Request photos tied to a recognizable roof section.
- Define the repair. Ask what material will be removed and what will replace it.
- Authorize the change. Confirm the scope and contract adjustment in writing.
- Record the completed repair. Obtain photographs before underlayment covers the area.
Ask how the crew will keep the exposed area protected while awaiting authorization. Agreeing on a reachable decision-maker before work starts prevents an avoidable communication gap.
Full tear-off versus an overlay
An overlay installs new roofing over an existing covering. It does not provide the same exposed-deck inspection as full removal. Whether an overlay is permitted or suitable depends on existing conditions, applicable requirements, and the selected material.
| Approach | Best for | Main advantage | Main limitation |
|---|---|---|---|
| Full tear-off | Homeowners prioritizing deck inspection during replacement | Exposes the supporting surface and existing details | Requires removal, disposal, and decisions about concealed repairs |
| Overlay | A roof specifically verified as eligible for an additional covering | Avoids removing the existing covering | Leaves the deck concealed and does not resolve underlying defects |
For a replacement centered on inspecting and correcting the underlying assembly, specify full tear-off. Do not treat an overlay estimate as equivalent just because both proposals name the same shingles.
Troubleshooting the replacement workflow
The estimate says “replace as needed”
Ask what triggers replacement, how the contractor documents it, and how you authorize the change. Apply this question to decking, flashing, and ventilation components. Undefined repair language leaves both the work and the approval process unclear.
The crew reports damaged wood without clear evidence
Request location-specific photographs and an explanation of the defect. Do not climb onto the roof to verify it yourself. If the proposed repair remains unclear, resolve the scope before that area is covered.
The flashing scope changes during removal
Ask why the original detail cannot remain and what the replacement requires. Confirm any related siding or masonry work in writing. A new flashing detail needs a complete connection, not an unfinished boundary between trades.
The roof is finished, but the paperwork is not
Request the outstanding records and a written list of remaining tasks. Follow the contract’s completion and payment terms; do not invent a new agreement during the walkthrough. Keep the final photographs with the approved scope.
Customize your replacement plan
Use this workflow to compare Prescott Roofing’s proposed scope with the work your house needs. The benefit of a local residential contractor is relevant service coverage; the limitation is that service coverage alone does not establish your deck condition, flashing requirements, or final scope. Those require inspection and a written proposal.
Add specific questions for dormers, attached porches, chimney connections, or attic access. Request an inspection before treating a replacement plan as settled. An inspection request is not a booked appointment; confirm the date and access arrangements directly.
Request your roof inspection
Discuss your residential replacement and ask for a clear scope before work begins.
FAQ
What is the roof tear off process?
The roof tear off process removes existing roofing to expose the supporting deck before replacement materials are installed. The contractor then inspects the deck, completes approved repairs, and installs the specified protective layers, flashing, and shingles.
Do I need to leave home during roof tear-off?
Confirm occupancy and access arrangements with your contractor before work starts. Roofing creates noise and debris, so discuss safe entrances, household needs, and any areas that must remain clear.
How long does a complete roof tear-off take?
Your contractor must set the schedule from the roof’s size, geometry, access, weather, and repair scope. Ask separately about removal, protection of exposed areas, installation, and completion rather than relying on a generic duration.
Does every roof replacement need new decking?
No, replacing shingles does not automatically require replacing all decking. The exposed deck must be evaluated, and defective or unsuitable sections need correction before the new assembly covers them.
Is full tear-off better than adding another shingle layer?
Full tear-off is the better fit when your goal includes inspecting and correcting the deck and underlying details. An overlay leaves those surfaces concealed and requires a separate determination of eligibility and suitability.
What should a roof replacement estimate include in 2026?
A 2026 roof replacement estimate should identify removal, disposal, deck-repair terms, protective layers, flashing, shingles, ventilation work, cleanup, and exclusions. It should also explain how changes are documented and approved.
Can Prescott Roofing inspect my roof before replacement?
Prescott Roofing accepts inspection requests for residential roof replacement in its service area. Request an inspection and confirm the appointment directly; submitting a request does not establish a booked date.
One last thing
The most useful replacement photos often show what you cannot see afterward: repaired decking, protected edges, and flashing before shingles cover it. Ask for those records before work begins. A finished-roof photograph cannot explain every concealed detail.