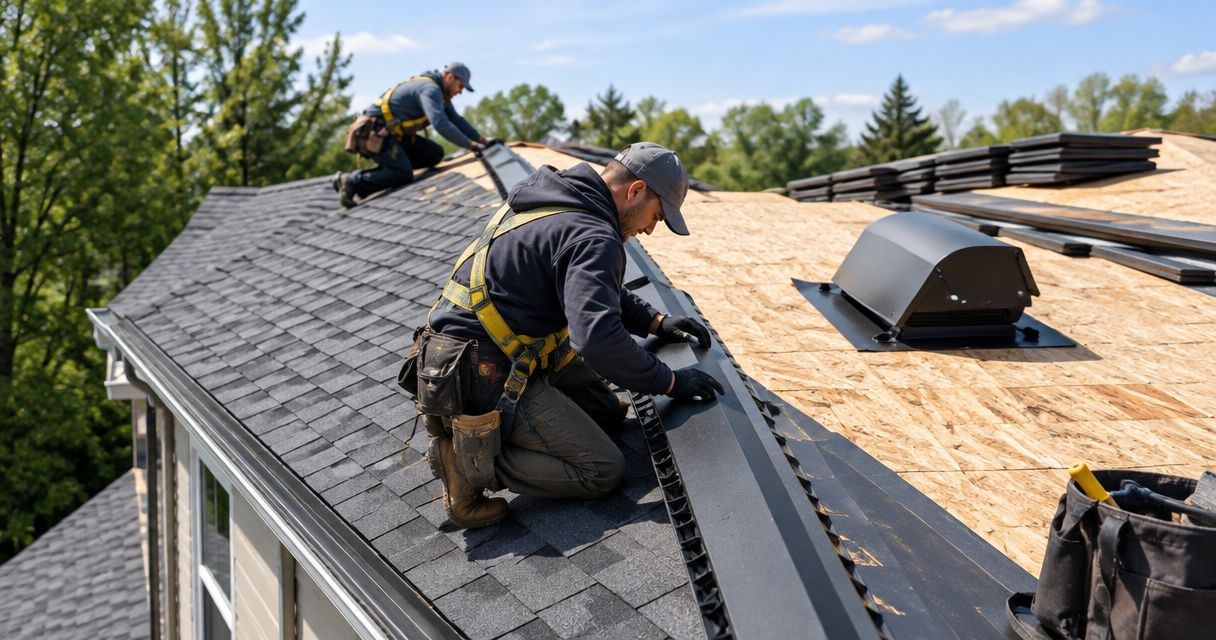
Instead of adding vents now and revising them during tear-off, coordinate your attic ventilation roof replacement as one project: inspect the attic, calculate intake and exhaust, and put the corrections in the roofing estimate. This 2026 workflow shows what to approve before work starts and what to verify before closeout.
- Plan attic ventilation roof replacement before tear-off; intake and exhaust need a matched design.
- Prescott Roofing serves Southern New Hampshire homeowners planning residential roof replacement.
- Require separate estimate details for soffit vents, attic baffles, roof vents, and concealed repairs.
- Confirm the attic assembly first; an intentionally unvented roof needs a different approach.
Why this matters
A new roof covering does not correct blocked soffits, disconnected ventilation paths, or indoor air leaking into the attic. Replacing shingles without checking those conditions leaves important work outside the contract.
Prescott Roofing is best suited to Southern New Hampshire homeowners planning a residential roof replacement. For your 2026 project, make attic conditions part of the inspection discussion—not a decision left until the roof is open.
Start with the roof ventilation systems guide if you need help distinguishing intake from exhaust. The workflow below explains how to turn those components into a defined replacement scope, with responsibilities and verification points.
Before you start
- Arrange access and collect records. Provide access to the attic hatch, previous roofing paperwork, and details of insulation or air-sealing work. Tell the contractor about bathroom fans, attic equipment, and rooms directly beneath sloped ceilings.
- Set the inspection boundary. Ask who will inspect the attic interior, soffits, roof deck, and existing vents. Keep roof access and work near wiring or unstable attic surfaces with qualified professionals.
- Identify the roof assembly first. A vented attic and an intentionally unvented roof assembly are not interchangeable. Spray foam against the underside of the roof deck requires evaluation before anyone adds soffit openings or cuts a ridge slot.
The non-obvious problem is separation: an open attic, a finished sloped ceiling, and a small space behind a knee wall can require different details within the same house. Do not approve a single ventilation assumption for all of them.
Attic assessment
- Map the attic spaces. Have the contractor identify which areas connect and which are isolated by framing, additions, or finished rooms. Record inaccessible sections rather than treating them as inspected.
- Locate existing intake and exhaust. Identify soffit vents at the eaves, ridge vents at the roof peak, and any other attic vents. An opening outside does not prove an unobstructed airflow path inside.
- Check for obstructions and moisture sources. Ask for photographs of insulation packed against the roof deck, disconnected ducts, staining, and obvious ceiling penetrations. Bathroom exhaust belongs outdoors, not in the attic.
- Separate observations from diagnoses. Staining alone does not establish an active roof leak or identify its cause. Ask what evidence supports the proposed correction and whether another trade needs to investigate.
Expected result: You receive a written description of the attic arrangement, visible defects, access limits, and areas needing further evaluation. A note saying only “improve ventilation” is not a usable scope.
For a 2026 estimate, request current photographs tied to locations: front eave, rear eave, main ridge, and isolated attic sections. That makes the eventual installation easier to compare with the original findings.
Intake and exhaust design
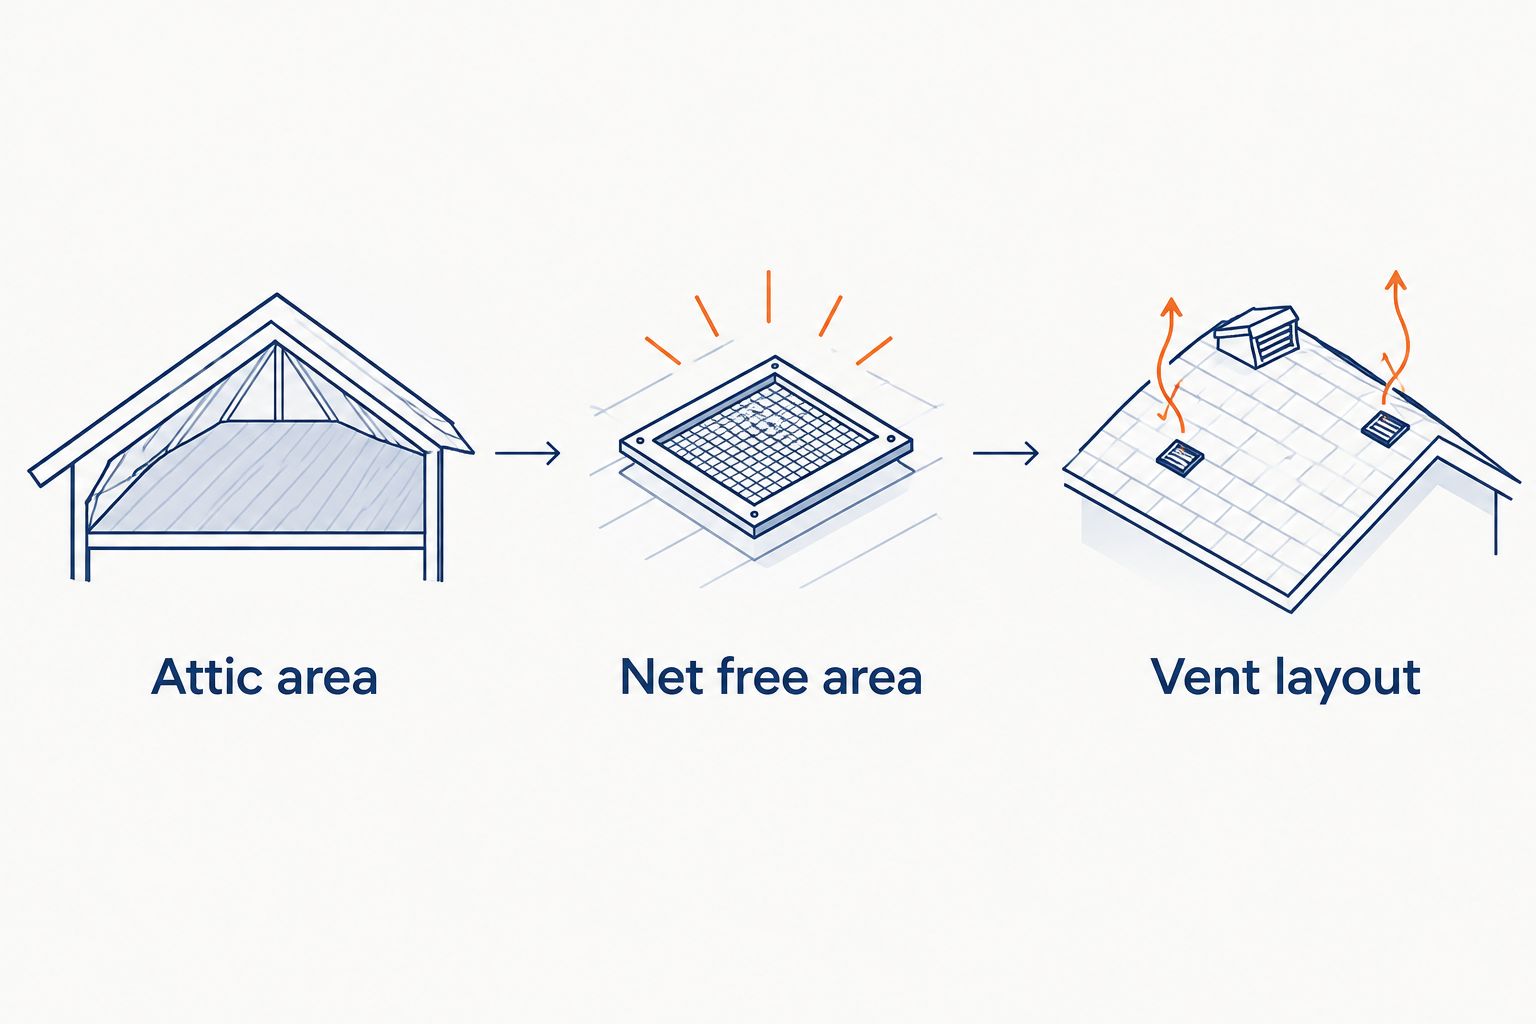
- Confirm the design basis. Ask the contractor to identify the applicable ventilation requirements, manufacturer instructions, attic area, and proposed net free ventilating area. Net free area means the opening available for airflow after screens and louvers are accounted for.
- Size intake and exhaust together. Require separate totals for low intake and upper exhaust. Do not accept the outside dimensions of a vent as its rated airflow opening.
- Choose a compatible exhaust arrangement. Have the contractor explain how existing ridge, box, or gable vents will be retained, removed, or closed. Adding another exhaust type does not automatically improve the intended airflow path.
- Specify the eave passage. Where insulation approaches the roof deck, define the baffles or other details that keep the intended ventilation channel open. Baffles are channels that separate insulation from that airflow path.
Expected result: The estimate identifies the vent type, rated net free area, proposed quantity or length, and how air moves from the eaves to the upper roof.
Compare the exhaust options
These options belong in a contractor-designed vented assembly. Neither substitutes for adequate intake or correction of indoor moisture sources.
| Option | Best for | Advantage | Limitation to resolve |
|---|---|---|---|
| Ridge vent with low intake | Roofs with suitable ridge length and connected attic space | Distributes exhaust along the ridge | Short ridges, isolated spaces, or blocked intake can limit the design |
| Static roof vents with low intake | Roof sections where ridge exhaust is unsuitable | Allows exhaust placement on selected roof sections | Requires planned positioning, roof penetrations, and flashing details |
Choose the arrangement that fits the roof—not the longest list of vent products. Ask why the proposed option works for your attic and what condition would require a different design.
Check the calculation, not just vent length
For a 2026 planning example, consider an attic measuring 1,200 square feet. Using the 1 square foot of net free ventilation per 150 square feet of attic area ratio described in International Residential Code Section R806.2 gives 8 square feet, or 1,152 square inches, of total net free ventilating area.
This example explains the arithmetic; it does not establish your home's requirement. Section R806.2 also provides a reduced-area exception with conditions. The contractor must confirm the locally applicable code, assembly conditions, and manufacturer requirements before selecting a ratio and distributing intake and exhaust.
Do not convert that total directly into ridge-vent length. The calculation still needs the selected products' ratings and the design's intake/exhaust allocation.
Estimate and trade coordination
- Separate the work categories. Ask for distinct descriptions of tear-off, roof-deck assessment, intake work, exhaust work, and attic corrections. Separation makes omissions visible when you compare contractors.
- Define concealed-condition approval. Specify how the contractor will document deteriorated decking or blocked eaves discovered during tear-off. Require written approval of changes before additional work proceeds.
- Assign the non-roofing work. State who handles air sealing, insulation adjustments, bathroom duct corrections, soffit carpentry, and electrical work when needed. An item mentioned during an inspection is not automatically included in the roofing contract.
- Set the work sequence. Resolve accessible attic work before it becomes harder to reach. Coordinate roof openings, flashing, and weather protection with the tear-off and replacement sequence.
- Record exclusions. List inaccessible cavities and work outside the agreement. Ask how those exclusions affect the proposed ventilation design.
Expected result: You can identify what the roofing contractor will complete, what another trade must complete, and what requires further investigation.
When reviewing a Prescott Roofing estimate, use the same standard: ask for the proposed work, exclusions, and approval process in writing. A clear scope helps you compare workmanship details without relying on a single total.
A replacement estimate that names only shingles and ridge vent leaves the intake side unanswered. Ask whether soffit openings exist, whether they connect to the attic, and whether the quoted work includes correcting obstructions.
Installation checks and closeout
- Verify discoveries during tear-off. Ask for photographs of concealed conditions that change the agreed scope. Match approved changes to the location and repair described.
- Confirm intake continuity. Have the responsible installer verify that new insulation or baffles have not covered the intended soffit openings. Keep this check separate from confirming that exterior vent covers were installed.
- Check exhaust installation. Ask the roofer to document the roof opening, vent installation, and closure of any vents excluded from the final design. The selected manufacturer's instructions govern installation details.
- Collect the final record. Request photographs, installed vent identification, approved changes, and any unresolved access limitations. Record which follow-up tasks belong to another contractor.
Expected result: Your closeout documents connect the original design to the installed work. They also distinguish completed corrections from recommendations still awaiting action.
For a 2026 replacement, keep these records with the roof contract. A photograph of finished shingles cannot show whether an eave channel remains open underneath.
Request a roof replacement inspection
Discuss attic conditions, ventilation scope, and your homeowner-paid roof replacement.
Submitting an inspection request is not a confirmed appointment. Wait for scheduling confirmation before arranging access around a specific visit.
Variant: a finished attic or cathedral ceiling
A finished attic needs a cavity-by-cavity assessment rather than an assumption that every rafter bay connects to an open attic. This matters in Cape-style homes, where sloped ceilings and knee walls can divide the roof assembly.
- Identify the assembly boundaries. Ask which spaces are inside the home's insulation and air-control layers, and which are outside them.
- Confirm the intended design. Determine whether each roof section is vented or intentionally unvented. Do not prescribe ventilation channels through an unvented assembly without a qualified design review.
- Identify access limits. Establish what can be verified from the attic and what requires investigation during tear-off or interior work.
- Revise the scope before installation. Require written details for any affected cavities, insulation work, and transitions between roof sections.
Best for: Homeowners replacing roofs above finished upper floors or mixed attic layouts. The benefit is a scope matched to concealed spaces; the limitation is that some conditions require additional access before the contractor can finalize the detail.
Troubleshooting
The estimate includes exhaust but no intake assessment
Ask for the existing intake locations, their usable opening area, and confirmation that the passages are clear. Do not approve added exhaust as a substitute for checking intake. If intake work is excluded, require the estimate to explain how the design works without it.
Contractors propose different ventilation ratios
Request the code basis and assembly assumptions from each contractor. Compare the attic area, net free area, and exception conditions—not just the stated ratio. Different assumptions need resolution before the bids describe equivalent work.
Bathroom moisture still enters the attic
Have the duct route and outdoor termination checked. More roof ventilation does not correct a disconnected exhaust duct. Assign duct repairs explicitly so they do not fall between the roofer and another trade.
The ridge is too short for the proposed exhaust
Ask for a revised layout using the actual rated capacity and available ridge length. The contractor should explain whether another exhaust arrangement or a separate design for isolated sections is necessary.
Insulation work blocks the new airflow path
Have the insulation installer and roofer review the eave detail together. Correct the obstruction and document the restored path before closing inaccessible areas. Installing baffles and installing insulation are connected tasks, even when different crews perform them.
Customize your replacement scope
Once ventilation is defined, review the adjoining roof details: underlayment, flashing, penetrations, decking, and disposal. Ventilation deserves its own explanation, but it remains part of a complete roof replacement.
Ask Prescott Roofing to distinguish required replacement work from optional changes and separately assigned attic work. Approve a scope you can verify, not a promise that the attic will simply breathe better.
FAQ
Should attic ventilation be checked before roof replacement?
Yes. Check attic ventilation before approving the roof replacement scope so intake, exhaust, and attic corrections are coordinated. Tear-off can reveal additional conditions, so the agreement also needs a written change process.
Does every roof replacement need a ridge vent?
No. Ridge ventilation depends on roof geometry, available ridge length, intake, and the attic assembly. Another exhaust arrangement or an intentionally unvented design requires different details.
Can I add a ridge vent without soffit vents?
Do not approve a ridge vent until the contractor identifies adequate intake for the proposed design. Soffits are a common intake location, but the actual intake solution must fit the roof assembly.
Is more attic ventilation always better?
No. Ventilation needs a designed airflow path and appropriate intake and exhaust. Additional openings do not fix blocked channels, indoor air leakage, or disconnected bathroom ducts.
What should an attic ventilation roof replacement estimate include?
An attic ventilation roof replacement estimate should identify the attic assessment, design basis, intake work, exhaust work, and exclusions. It should also assign related attic tasks and explain approval of concealed repairs.
Can roof ventilation replace attic air sealing?
No. Ventilation and air sealing address different parts of the assembly. Air sealing limits indoor air movement into the attic, while ventilation provides an intended outdoor airflow path in a vented assembly.
Can Prescott Roofing inspect ventilation during a replacement assessment?
Ask Prescott Roofing to include attic ventilation in your residential roof replacement inspection request. Confirm the inspection scope, access requirements, and appointment details before the visit.
One last thing
An exterior soffit vent is not proof of an open intake path. Insulation or framing can interrupt the passage behind it. Before signing your 2026 roof replacement agreement, ask for evidence of both the exterior opening and the connected interior channel; that question makes a vague ventilation allowance much harder to overlook.